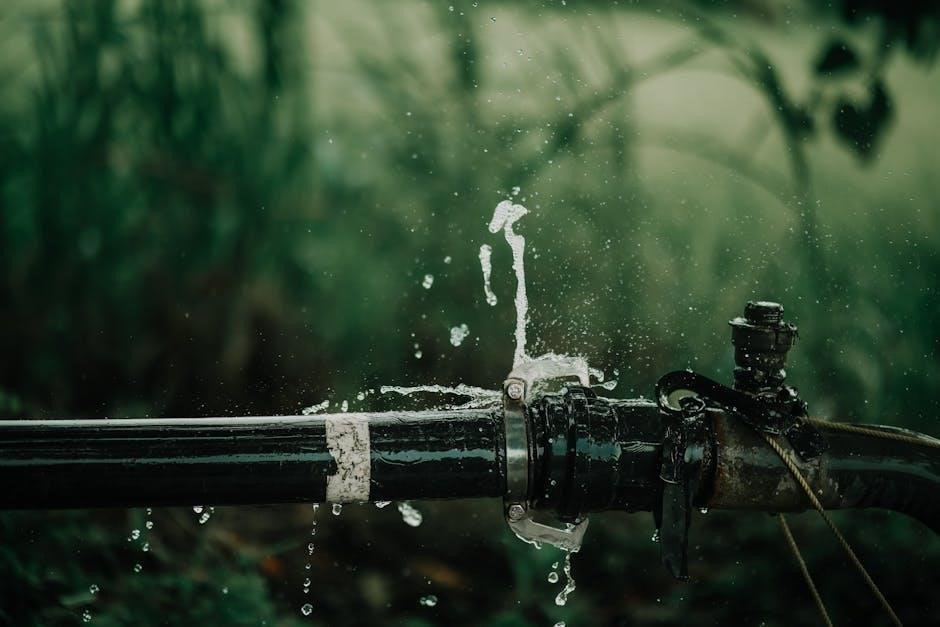
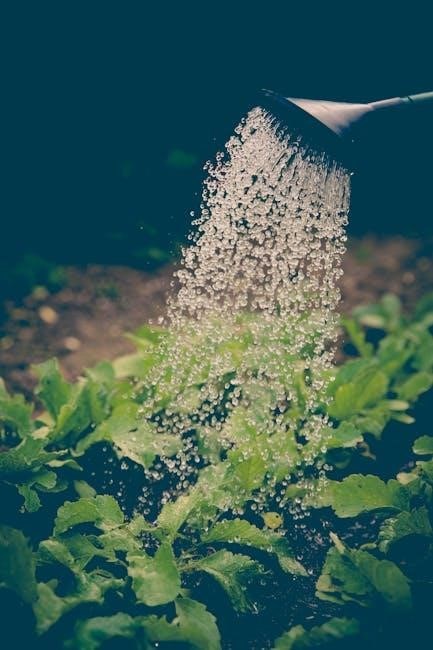
Drip irrigation is a highly efficient watering method that delivers water directly to plant roots, reducing waste and ensuring consistent moisture. It’s ideal for gardens, saving time, water, and labor while promoting healthy plant growth.
What is Drip Irrigation?
Drip irrigation is a micro-irrigation method that delivers water directly to plant roots through a network of tubes and emitters. It minimizes water waste by releasing it slowly and consistently, ensuring plants receive the exact moisture they need. This efficient system is adaptable to various landscapes and soil types, making it ideal for gardens, agriculture, and landscaping projects. By focusing water delivery at the root zone, drip irrigation promotes healthy growth while conserving water and reducing evaporation.
Benefits of Drip Irrigation
Drip irrigation offers numerous advantages, including significant water conservation, reduced evaporation, and targeted moisture delivery to plant roots. It minimizes runoff and ensures consistent soil hydration, promoting healthy plant growth. This method is highly efficient, using up to 50% less water than traditional sprinkler systems. Additionally, drip irrigation is versatile, suitable for various soil types and landscapes, and can be easily automated for convenience. Its low operating pressure and flow rates make it an eco-friendly and cost-effective solution for gardeners and farmers alike.
Why Choose Drip Irrigation?
Drip irrigation is a top choice for modern gardeners due to its exceptional water efficiency and minimal waste. It delivers water directly to plant roots, ensuring consistent moisture without overwatering. This method is ideal for both small and large gardens, as it is easy to design and customize. Compared to sprinkler systems, drip irrigation is cost-effective, requires less labor, and reduces runoff. Its ability to work with low water pressure and flow rates makes it an eco-friendly solution. Automation capabilities further enhance its convenience, making it a practical and sustainable option for all gardening needs.

Planning Your Drip Irrigation System
Assess water supply and pressure, design the layout, and select components to ensure efficient watering and minimal waste for your garden or landscape.
Assessing Water Supply and Pressure
Assessing your water supply and pressure is crucial for a drip irrigation system. Ensure your water source meets the system’s flow rate requirements. Check the pressure to avoid damage or inefficiency. Most systems operate effectively between 10-30 PSI. Use a pressure gauge to measure water pressure. If pressure is too high, consider installing a pressure-regulating valve. Proper water supply and pressure ensure efficient operation and even water distribution. This step is essential for designing a system that meets your garden’s needs and minimizes water waste.
Designing the Irrigation Layout
Designing an effective irrigation layout ensures water is delivered evenly. Start by mapping your garden on graph paper, marking plant locations and water sources. Plan separate zones for plants with different watering needs. Lay out the main water line and branch lines to reach all areas. Space drip emitters based on soil type and plant size. Ensure the layout allows for even water distribution and avoids overwatering. A well-designed system maximizes efficiency and minimizes waste, tailored to your garden’s specific requirements.
Selecting the Right Components
Selecting the right components is crucial for a functional drip irrigation system. Choose durable tubing and fittings suitable for your water pressure and flow rate. Drip emitters should match plant water needs, with adjustable or fixed flow rates. Filters are essential to prevent clogging, especially if using well or pond water. Pressure regulators ensure consistent water flow, while timers and controllers automate watering schedules. High-quality components ensure reliability and efficiency, optimizing water use and plant health. Proper selection aligns with your garden’s unique requirements, ensuring long-term performance and minimal maintenance.

Materials and Tools Needed
Tubing, fittings, emitters, filters, timers, and controllers are essential. Basic tools include a tubing cutter, wrench, and punch. Ensure all components are compatible and durable for long-term use.
Essential Components for Installation
The core components include drip tubing, emitters, filters, pressure regulators, and backflow preventers. Emitters deliver water to plants, while filters prevent clogs. Tubing distributes water across the garden. Ensure all parts are compatible and durable for optimal performance and longevity. These elements work together to create a efficient and reliable irrigation system. Proper selection and installation of these components are critical for long-term success.
Tools Required for the Job
Key tools include a tubing cutter for precise cuts, wrenches for connecting fittings, and a drill for creating holes. A box cutter is handy for opening packaging, while pliers help secure connections. For PVC systems, a PVC cutter and glue are essential. Measuring tapes and stakes ensure accurate layouts. These tools simplify installation and ensure a professional finish. Having them ready saves time and avoids delays during setup. Proper tools are vital for a successful and durable drip irrigation system installation.

Step-by-Step Installation Guide
Start by connecting to the water source, then lay out the irrigation tubing. Install drip emitters, filters, and timers. Follow each step carefully for a seamless setup.
Connecting to the Water Source
Start by tapping into your main waterline or an existing outdoor faucet. Install a backflow preventer to ensure water flows only in one direction. Attach a pressure regulator to maintain optimal water pressure for your system. Next, connect a filter to prevent debris from clogging the drip emitters. Use PVC pipe or tubing to link the water source to the irrigation system. Ensure all connections are secure and watertight. This step is crucial for maintaining consistent water flow and system efficiency throughout your garden or landscape.
Laying Out the Irrigation Tubing
Begin by mapping your garden layout to determine the best path for the irrigation tubing. Connect the main tubing to the water source, then run it along garden paths or between plants. Use stakes or clips to secure the tubing, ensuring it remains straight and free from kinks. Branch lines can be installed to reach individual plants. Proper spacing of emitters ensures even watering. For sloped areas, additional securing measures may be necessary. Measure your garden to estimate tubing length, allowing extra for adjustments. Ensure filters and pressure regulators are installed at the water source connection for optimal system performance.
Installing Drip Emitters and Filters
Attach drip emitters to the irrigation tubing at spaced intervals, ensuring each plant receives adequate water. Use a punch tool to create holes for emitters, then insert them firmly. Filters are essential to prevent clogging and should be installed at the water source connection. Regularly inspect and clean filters to maintain proper water flow. Emitters should be placed near plant bases to direct water to the root zone. Proper installation ensures efficient watering and prevents system blockages. Always follow the manufacturer’s guidelines for emitter spacing and filter maintenance to optimize system performance.
Setting Up Timers and Controllers
Install a timer or controller to automate your drip irrigation system, ensuring plants receive water consistently. Connect the timer to the water source and program it according to your plants’ needs. Set specific watering schedules, including duration and frequency, to optimize water use. Use smart controllers for advanced features like weather-based adjustments. Always follow the manufacturer’s instructions for proper setup. Regularly check and adjust settings to accommodate seasonal changes or plant growth. Proper timer installation ensures efficient, worry-free watering, saving time and resources while maintaining healthy plant growth.

Testing and Troubleshooting
Check for leaks and ensure proper water flow throughout the system. Inspect tubing for blockages or damage. Clean filters and adjust emitters as needed for optimal performance.
Checking for Leaks and Proper Flow
After installation, inspect the entire system for leaks by turning on the water supply. Check connections, tubing, and emitters for any signs of water seeping or dripping. Ensure proper flow by observing water emission from all drippers. If flow seems uneven, adjust or clean clogged emitters. Regularly inspect filters to prevent blockages. Proper flow ensures plants receive consistent moisture, optimizing water efficiency and plant health; Addressing leaks promptly prevents water waste and maintains system performance.
Troubleshooting Common Issues
Common issues with drip irrigation include clogged emitters, low water pressure, and damaged tubing. To address clogs, clean or replace emitters. For low pressure, check connections and ensure the water supply meets system requirements. Inspect tubing for cracks or kinks and repair or replace as needed. Regularly flush filters to prevent blockages. If water flow is uneven, adjust dripper spacing or flow rates. Addressing these issues promptly ensures optimal system performance and consistent watering for your plants.

Maintenance and Care
Regular maintenance ensures optimal performance. Inspect tubing for damage, clean filters, and flush lines to prevent clogs. Adjust timers seasonally and winterize the system to avoid freezing.
Regular Maintenance Tips
Regular maintenance is crucial for optimal drip irrigation performance. Inspect tubing for cracks or damage, clean filters to ensure proper water flow, and flush lines periodically to remove debris. Check emitters for clogs and replace them if necessary. Seasonally adjust timers to match plant water needs, and winterize the system by draining water to prevent freezing. Additionally, monitor water pressure and flow rates to ensure the system operates efficiently. Regular care extends the lifespan of your drip irrigation system and maintains plant health.
Seasonal Adjustments and Winterization
Seasonal adjustments ensure your drip irrigation system adapts to changing weather conditions. In summer, increase watering frequency to match higher plant demand, while reducing it in cooler months. Winterization is essential to protect the system from freezing damage. Drain all water from tubing and components, and insulate exposed parts. Store unused tubing and emitters in a dry place. By properly adjusting and winterizing, you ensure the system remains functional and ready for the next growing season, preventing costly repairs and maintaining efficiency.

Advanced Techniques and Automation
Integrate smart controllers and sensors to automate your drip irrigation system. These advanced techniques optimize watering by adjusting schedules based on soil moisture and weather conditions, saving time and water.
Integrating Smart Controllers
Smart controllers enhance drip irrigation efficiency by automating watering schedules based on soil moisture, weather, and plant needs. These devices connect to sensors and Wi-Fi, allowing remote monitoring and adjustments. Installation involves linking the controller to your drip system and syncing with sensors for real-time data. Programming is straightforward, with options to set timers, monitor flow rates, and receive alerts. Smart controllers optimize water use, reduce overwatering, and adapt to changing conditions, making them a modern solution for precise and efficient irrigation management.
Adding Sensors for Optimal Watering
Adding sensors to your drip irrigation system enhances efficiency by monitoring soil moisture, temperature, and water flow. Soil moisture sensors detect water levels, preventing overwatering, while rain sensors pause irrigation during rainfall. These devices integrate with smart controllers, adjusting watering schedules based on real-time data. Installation involves placing sensors in the soil and connecting them to the controller. Sensors optimize water use, reduce waste, and ensure plants receive precise hydration, promoting healthier growth and resource conservation.
